Can Gutter Guards Cause Ice Dams? Expert Insights and Prevention Tips
Can gutter guards cause ice dams? This is a common question homeowners consider when deciding whether or not to invest in gutter protection.This article will explain how gutter guards interact with ice and snow, and whether they can lead to ice dams. We’ll also share tips to prevent ice dam issues.
Key Takeaways
-
Ice dams form due to the melting and refreezing of snow on roofs, often exacerbated by indoor heat and insufficient insulation.
-
Gutter guards can either help prevent or contribute to ice dam formation, depending on their type and maintenance; micro-mesh guards are generally better in snowy climates.
-
Regular gutter maintenance, including cleaning and proper installation, along with adequate attic insulation and ventilation, are key to preventing ice dams.
Understanding Ice Dams
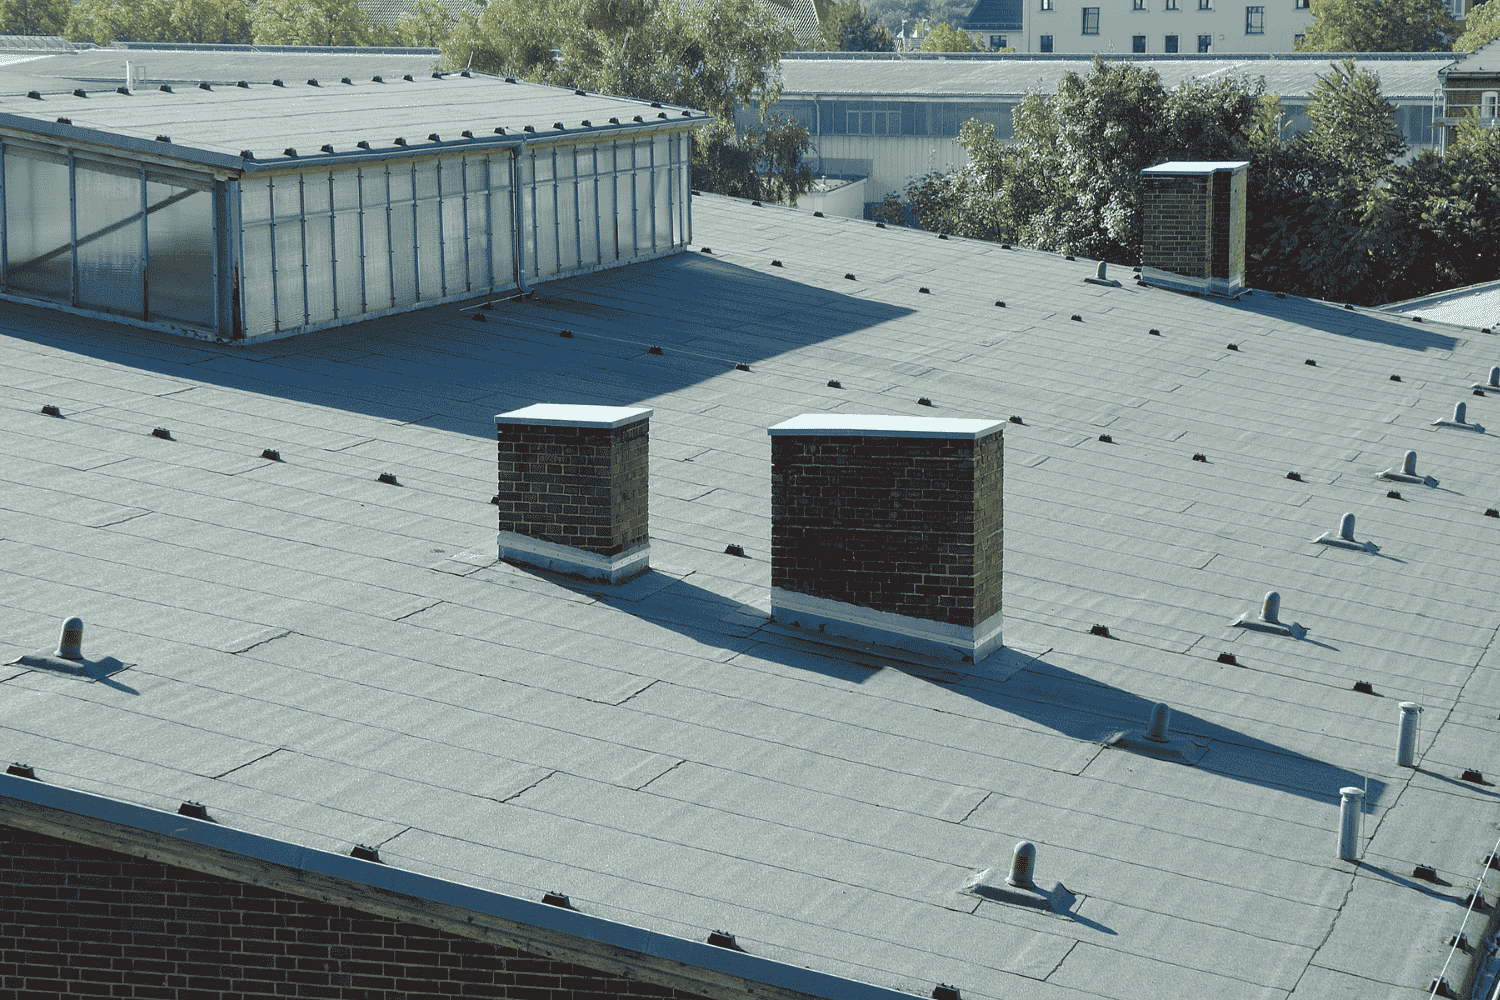
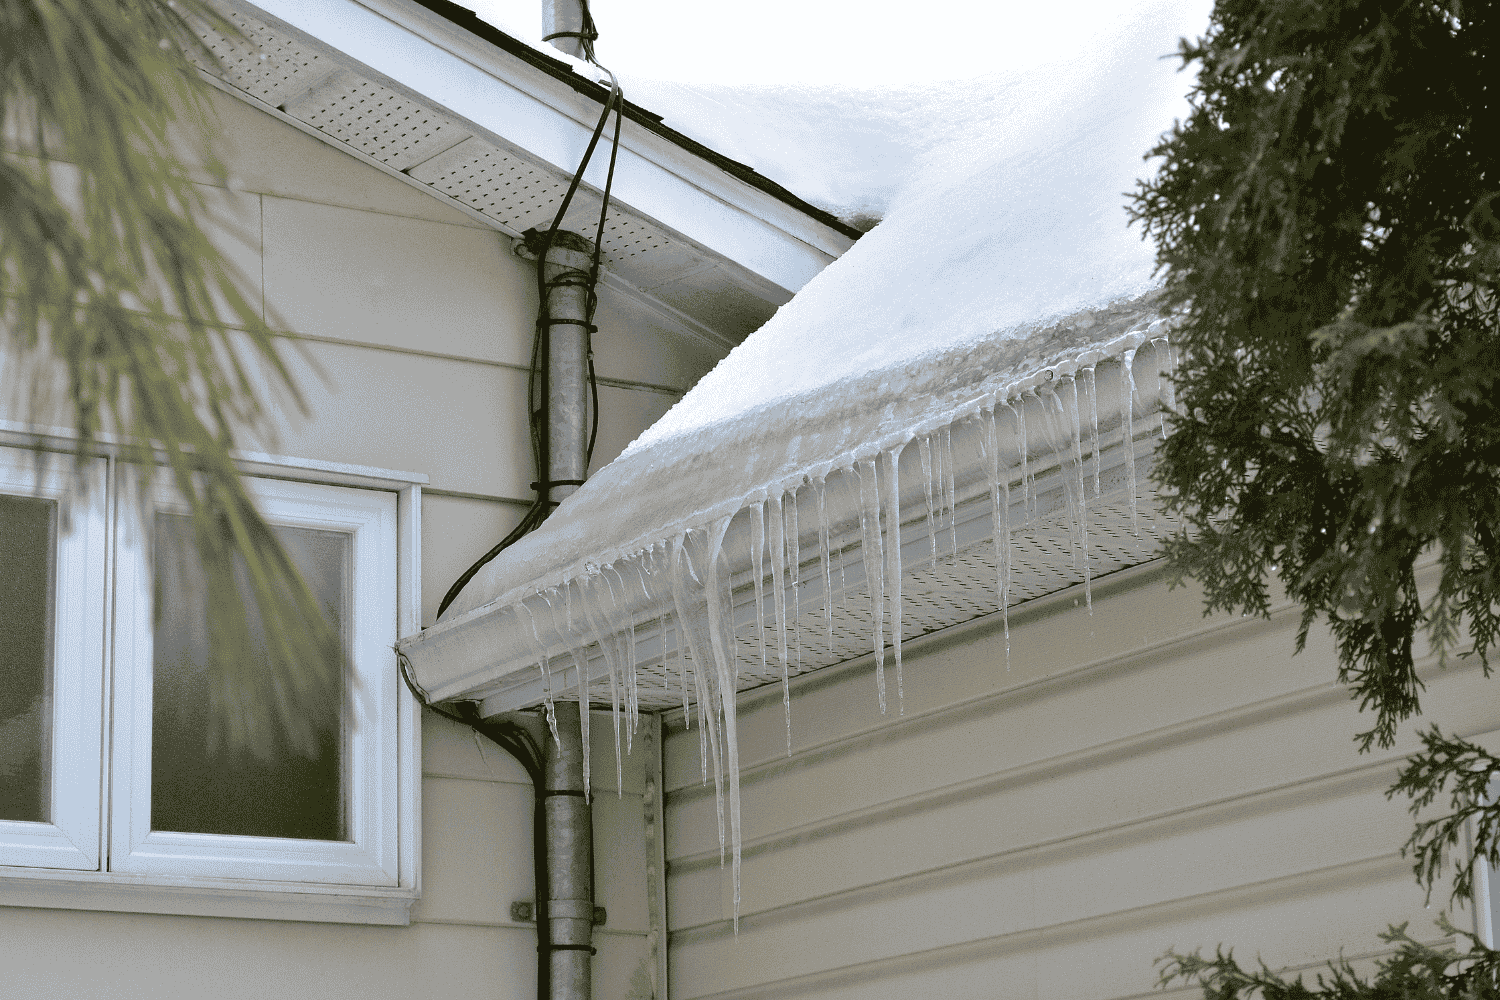
Ice dams are more than just an inconvenience; they can be destructive forces that wreak havoc on your home. These dams form when heat from the attic melts snow on the roof. The melted snow then flows down to the colder eaves, where it refreezes, forming ice dams and ice damming that prevent further drainage. As this process continues, water backs up behind the dam, seeping under shingles and potentially damaging your roof, walls, and ceilings.
The cycle of melting and refreezing is exacerbated by heavy snowfall and freezing temperatures. When snow melts and refreezes repeatedly, it leads to significant ice buildup, making the problem worse. Grasping these mechanics helps in preventing ice dams and safeguarding your home.
The Role of Indoor Heat
Indoor heat rises plays a pivotal role in the formation of ice dams. As warm air rises from your living spaces into the attic, it heats the roof, causing snow to melt. This melted snow runs down to the colder edges of the roof, where it refreezes and contributes to ice dam formation. Common sources of this heat include old lighting fixtures, electrical wiring, and exhaust vents, which create hot spots on the roof.
Adding more insulation in the attic prevents warm air from escaping and heating the rooftop. Sealing air leaks and ensuring even insulation can further reduce temperature fluctuations that lead to ice dams.
Impact of Cold Weather and Snow Fall
Cold weather and snowfall are the other major culprits in ice dam formation. When temperatures drop, the roof’s temperature decreases, causing any melting snow to refreeze at the eaves and form ice dams. Heavy snow and freezing rain exacerbate the issue, creating a constant cycle of snow melt and refreezing that leads to more significant ice buildup.
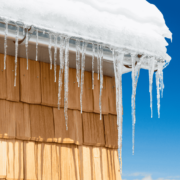
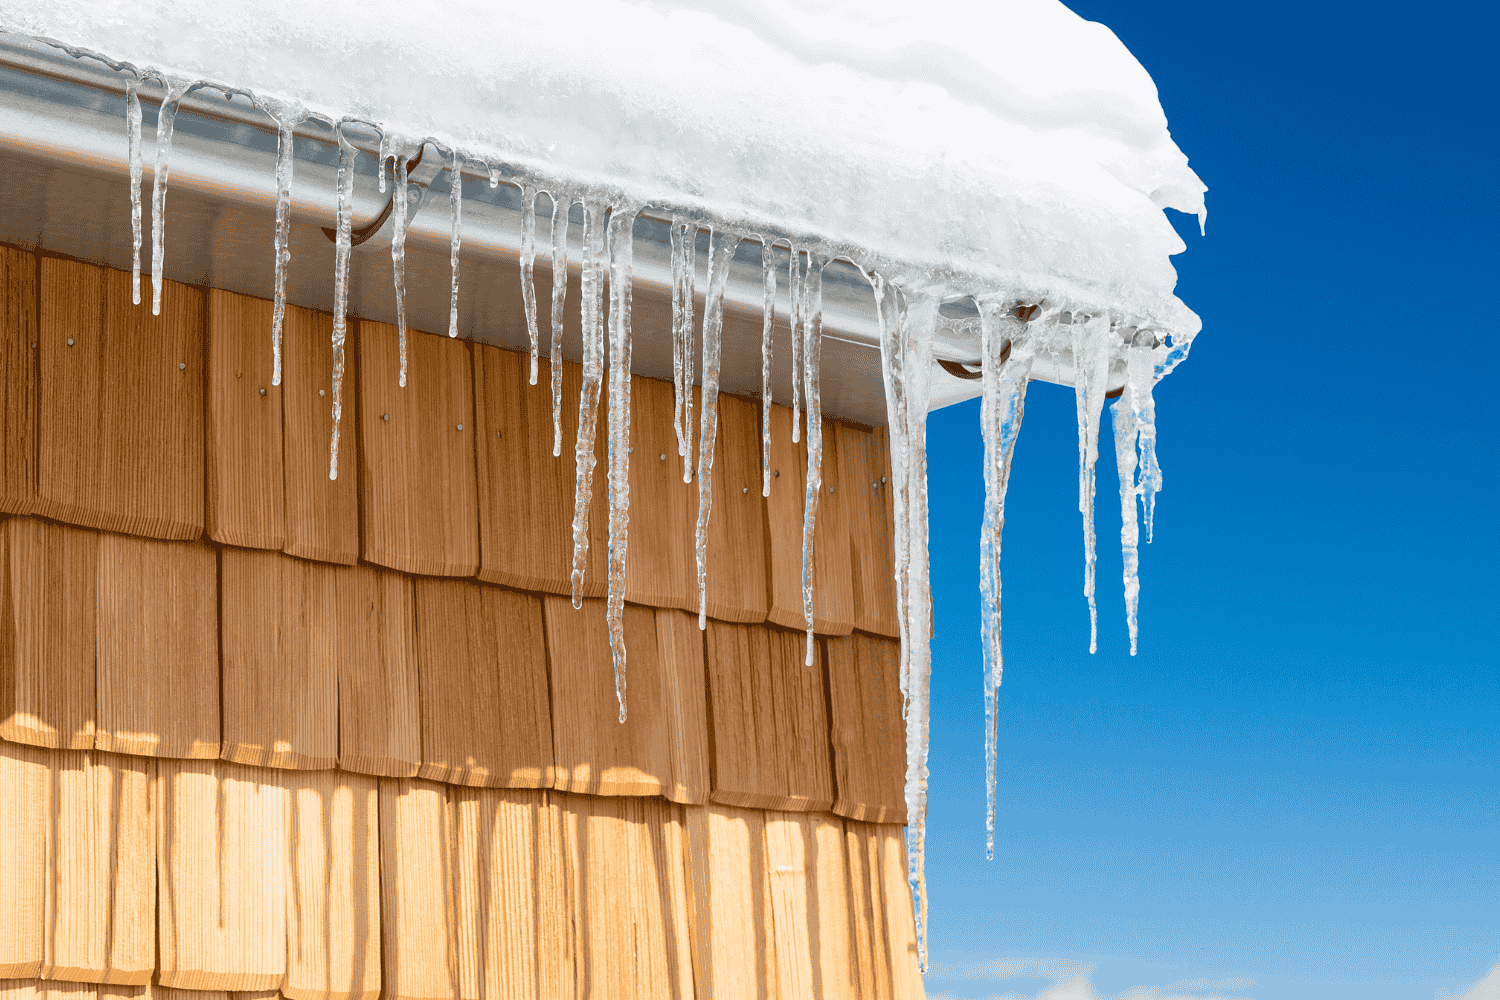
As winter progresses, these conditions can lead to large icicles forming along the roof’s edge. Though icicles might look beautiful, they often indicate underlying ice dams. Monitoring these signs can prompt early action to prevent severe damage.
How Gutter Guards Interact with Ice Dams
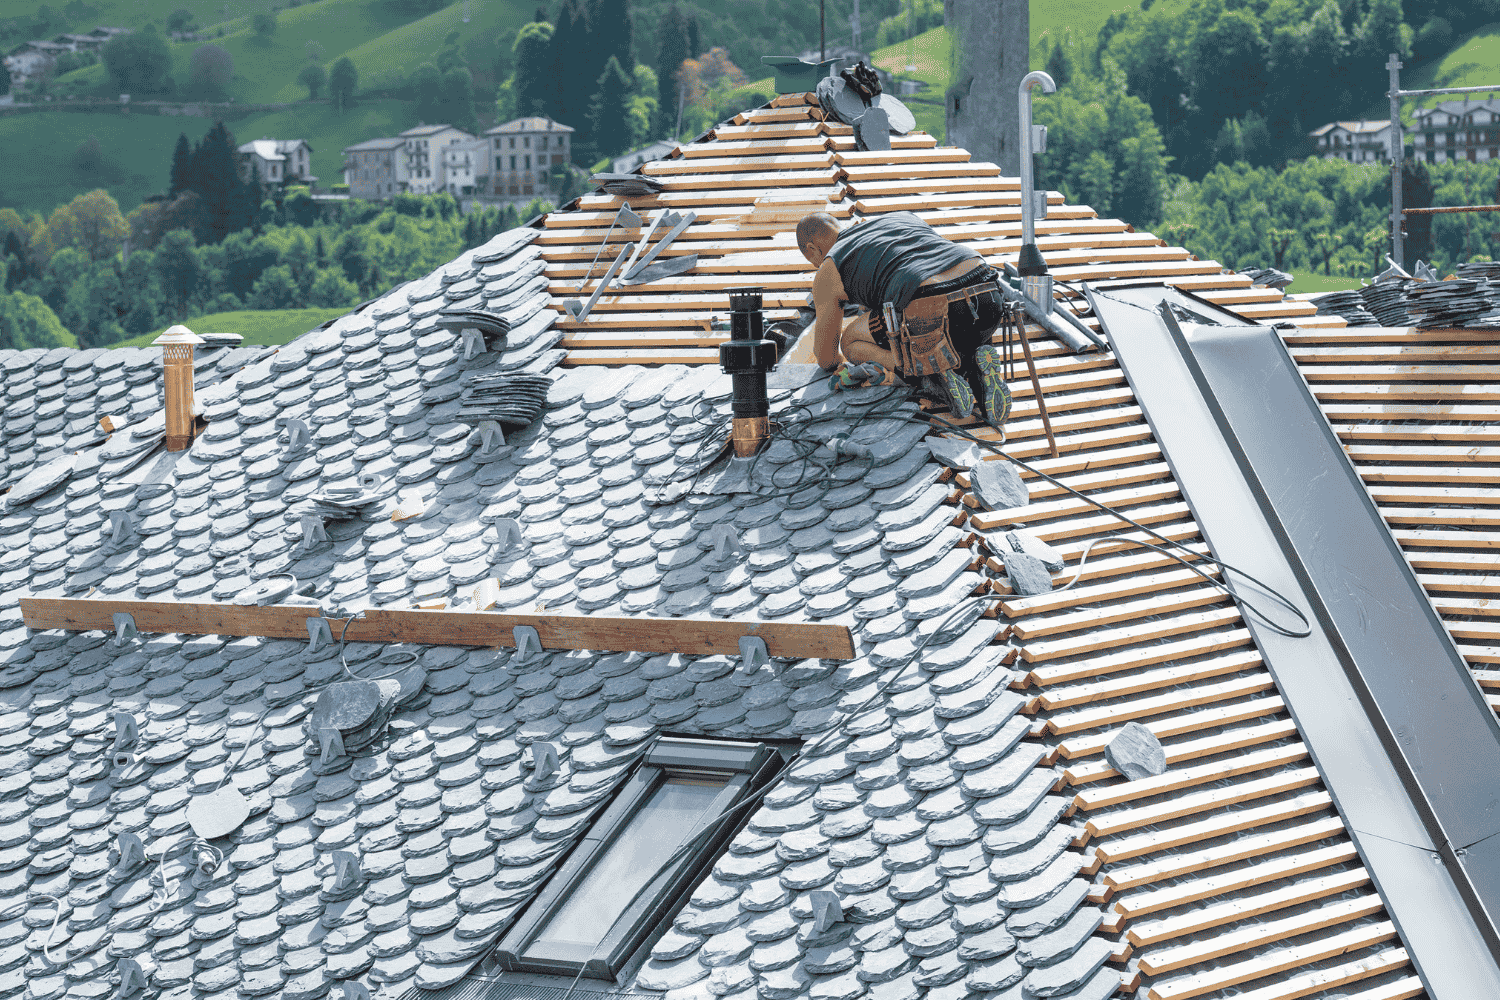
Gutter guards are designed to keep debris out of your gutters, but their interaction with ice dams is a bit more complex. On one hand, high-quality gutter guards can help prevent ice dams by allowing water to flow freely. On the other hand, if not selected and maintained properly, gutter guards can trap snow and ice, leading to blocked water flow and worsening ice dam issues. Understanding how different gutter guards interact with ice and snow is key. Two common types include reverse curve gutter guards and micro-mesh gutter guards.
Reverse Curve Gutter Guards
Reverse curve gutter guards are designed to use surface tension to direct water into the gutters while keeping debris out. However, debris can accumulate on these guards, affecting their performance during rain and snow. This design can exacerbate ice dam formation by allowing water to freeze at the top and in the opening, blocking water flow and causing ice buildup.
Homeowners with metal roofs or large amounts of debris may find reverse curve gutter guards particularly challenging during winter months. Recognizing these limitations is essential for selecting the appropriate gutter protection system.
Micro-Mesh Gutter Guards
Micro-mesh gutter guards are designed to minimize debris entry while allowing water to flow through effectively. This design helps maintain proper water flow, reducing the chances of ice dam formation during winter. These guards are often recommended for snowy climates because they prevent snow buildup more effectively than other types. Micro-mesh gutter guards facilitate better drainage, significantly reducing the risk of ice dams and making them a wise investment for snowy regions.
Do Gutter Guards Cause Ice Dams?
The debate on whether gutter guards cause ice dams is contentious. Though designed to protect gutters, their effectiveness in preventing ice dams varies. If gutter guards prevent water from flowing freely, they can contribute to pooling and freezing, leading to ice dam formation.
Improper installation or maintenance can exacerbate these issues. Clogged openings in the gutter guards can prevent drainage, worsening ice dam problems. Thus, choosing the right type of gutter guard and ensuring proper installation and maintenance is crucial.
Factors Contributing to Ice Dams
Several factors contribute to the formation of ice dams, some of which include:
-
Insufficient air circulation in the attic can lead to heat accumulation, causing snow to melt and refreeze at the roof’s edges.
-
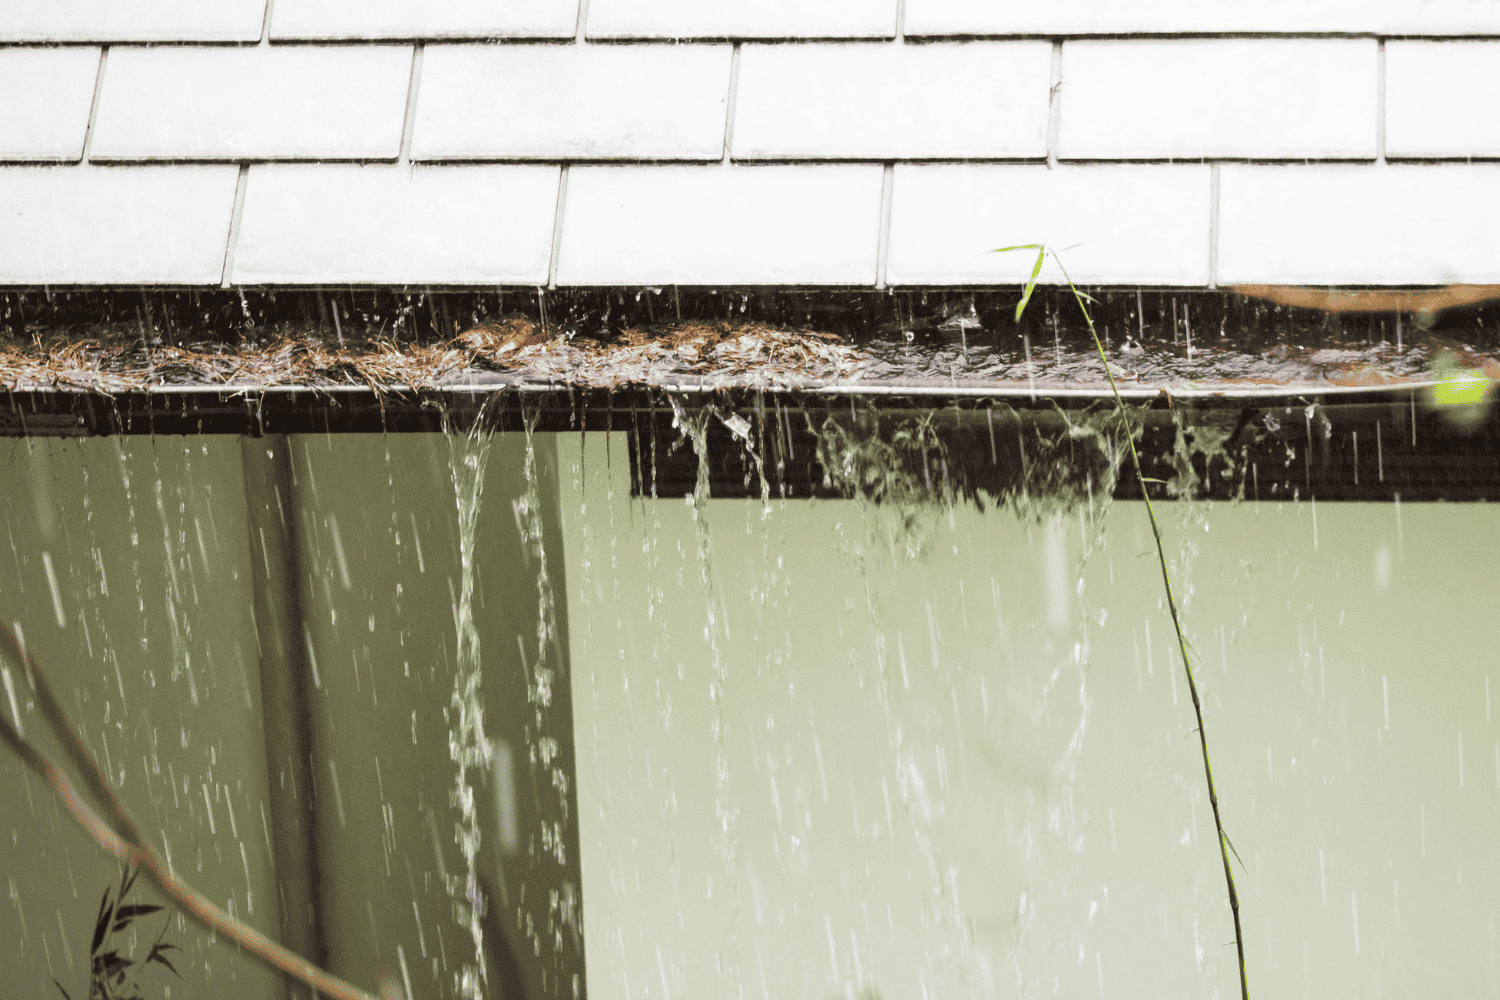
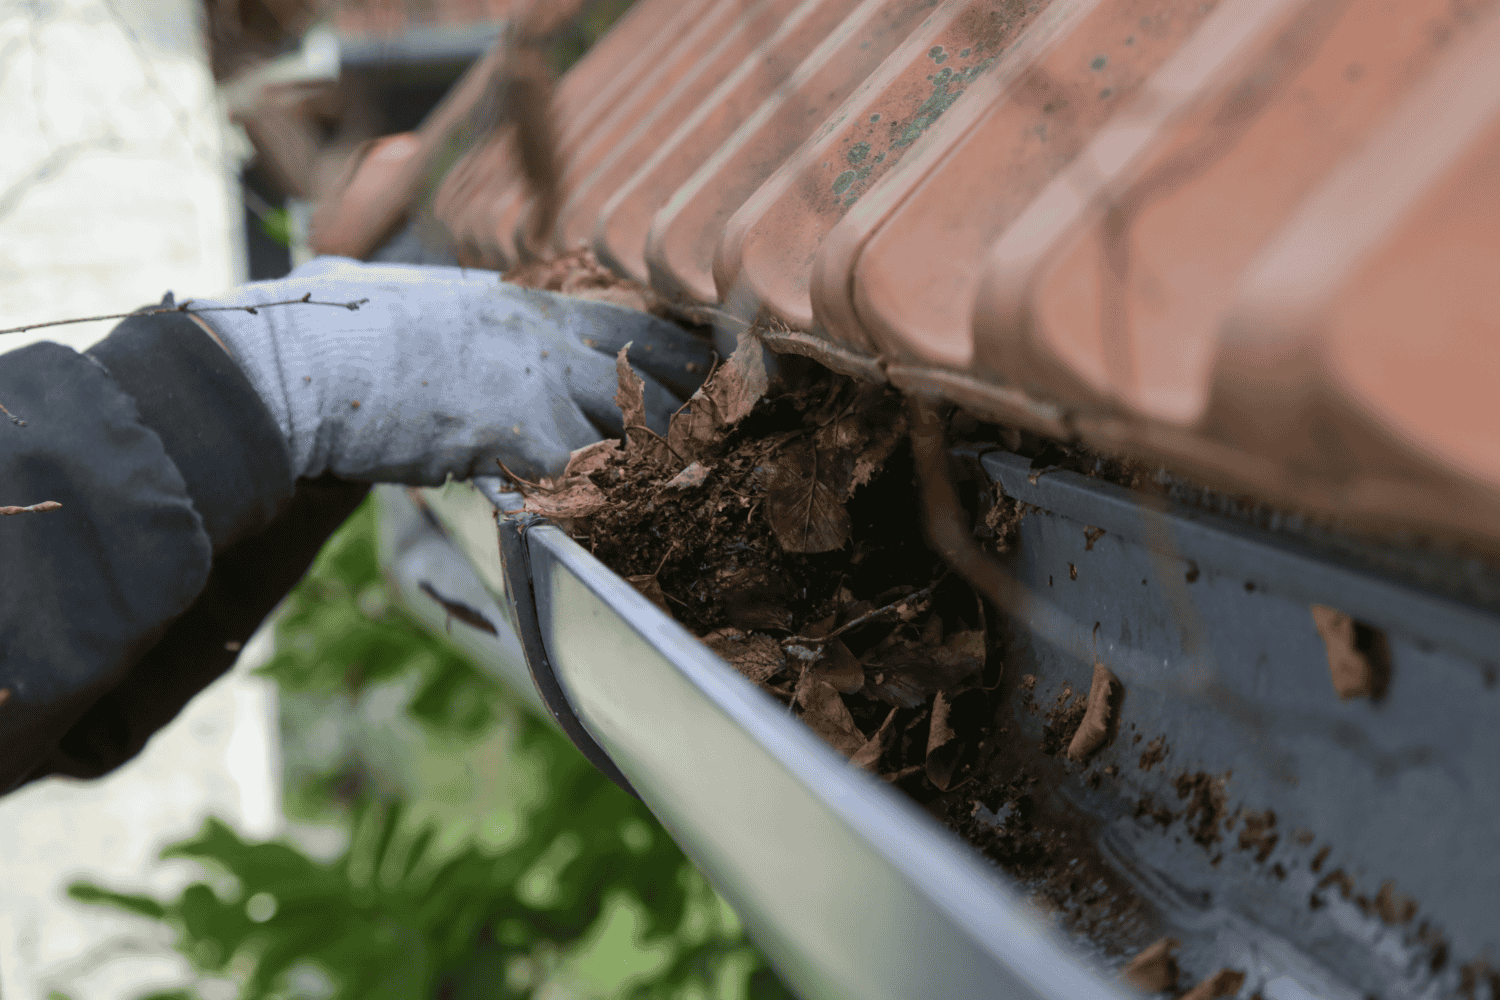
Clogged gutters can trap water and snow, increasing the risk of ice dams. Regular gutter cleaning can help prevent these clogs and ensure proper water flow, mitigating ice dam issues.
Recognizing these factors helps in taking proactive measures to prevent ice dams and protect your home.
Gutter Guards and Heavy Snow
Heavy snow presents a unique challenge for gutter guards. Reverse curve gutter guards, for example, may worsen ice dam formation due to their design. Many homeowners report that these guards can make ice dam formation worse, raising concerns about their effectiveness during heavy snowfall. Ensuring your gutter system can handle large snow loads is critical in snowy climates. Regular maintenance and choosing the right type of gutter guard can help mitigate these issues.
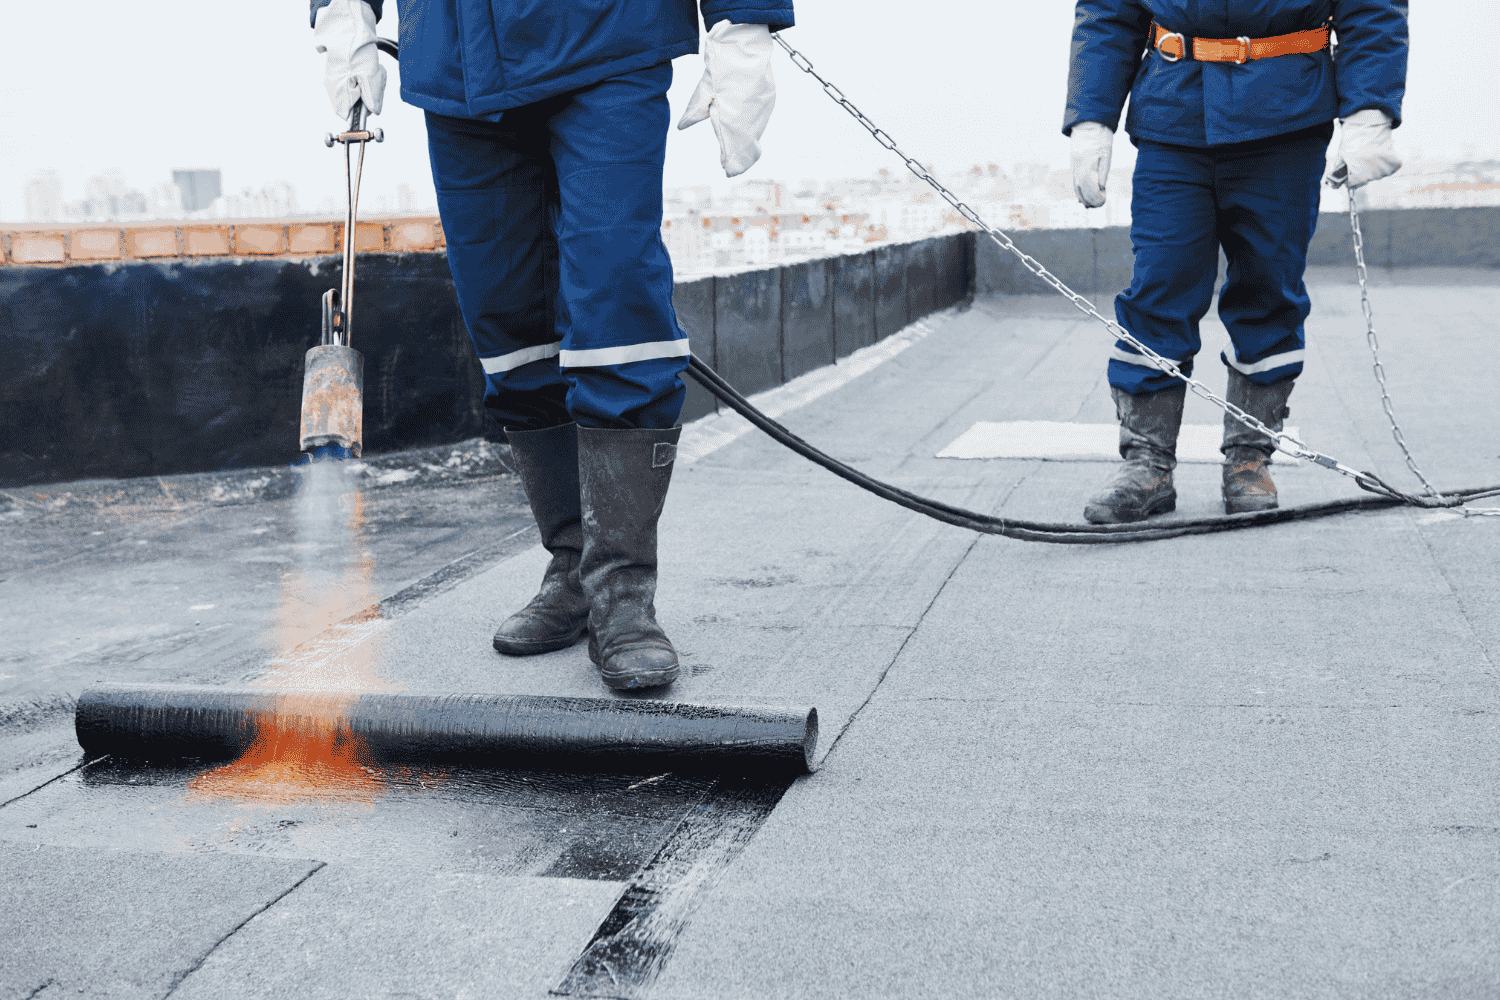
Preventing Ice Dams with Proper Gutter Maintenance
Proper gutter maintenance is key to preventing ice dams. This involves ensuring adequate insulation in the attic to minimize heat escaping from living areas. Improper sizing or installation of gutters and downspouts can cause water backup, leading to ice dam formation.
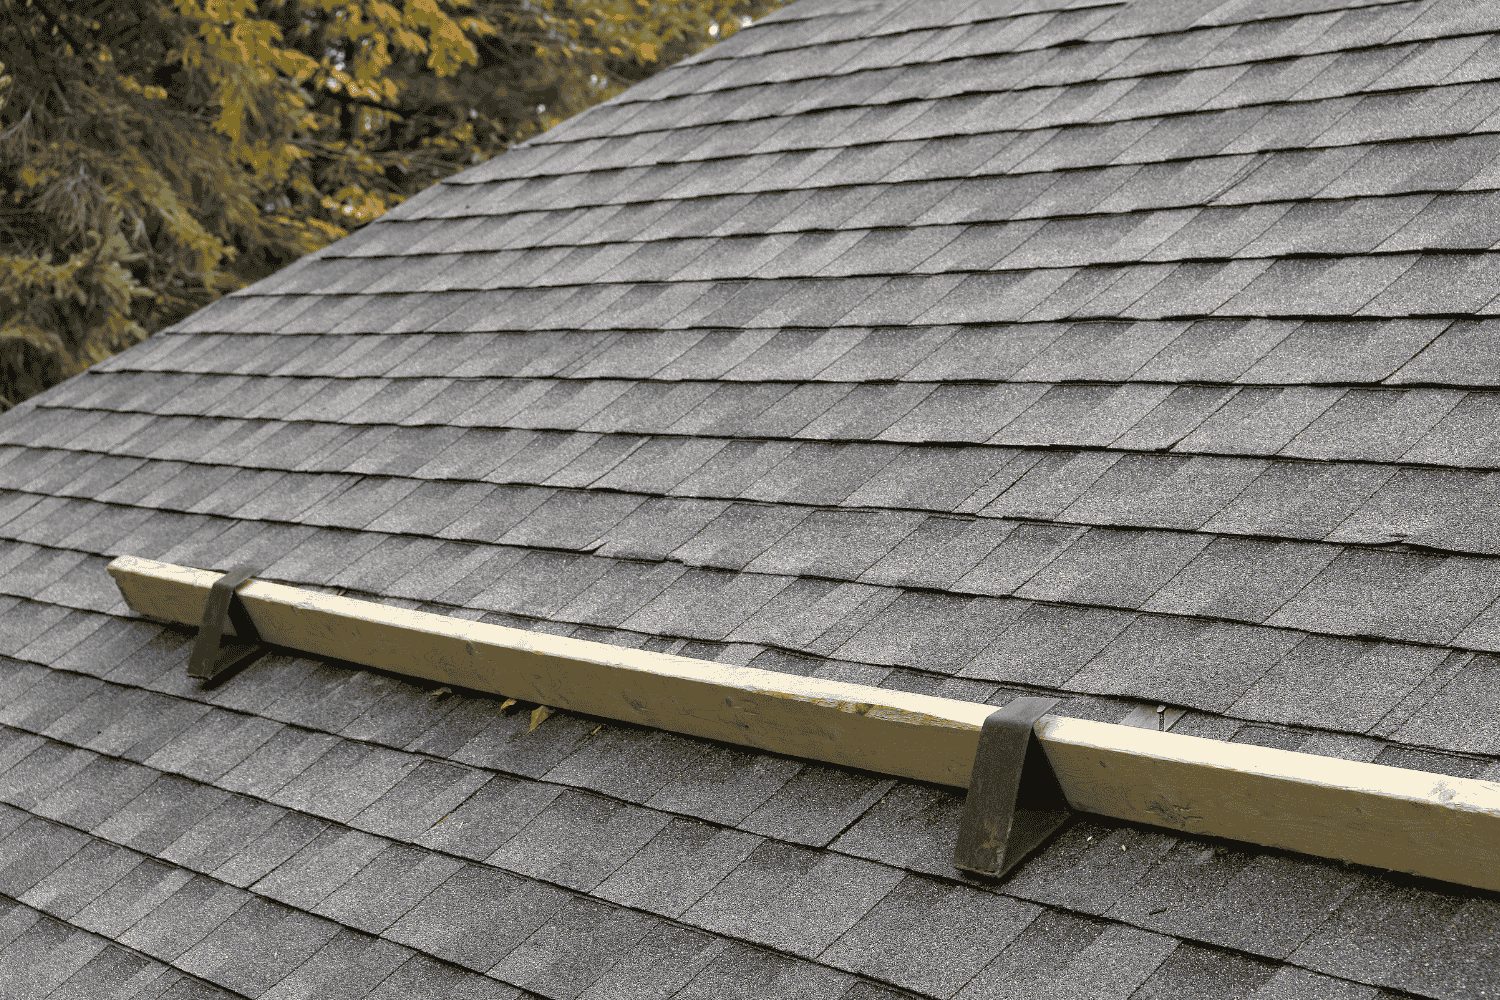
Investing in a suitable gutter protection system can prevent issues related to ice dams. Regularly clearing snow from the roof can prevent ice dams from growing and causing damage.
Regular Gutter Cleaning
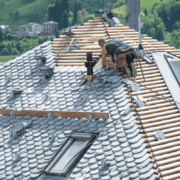
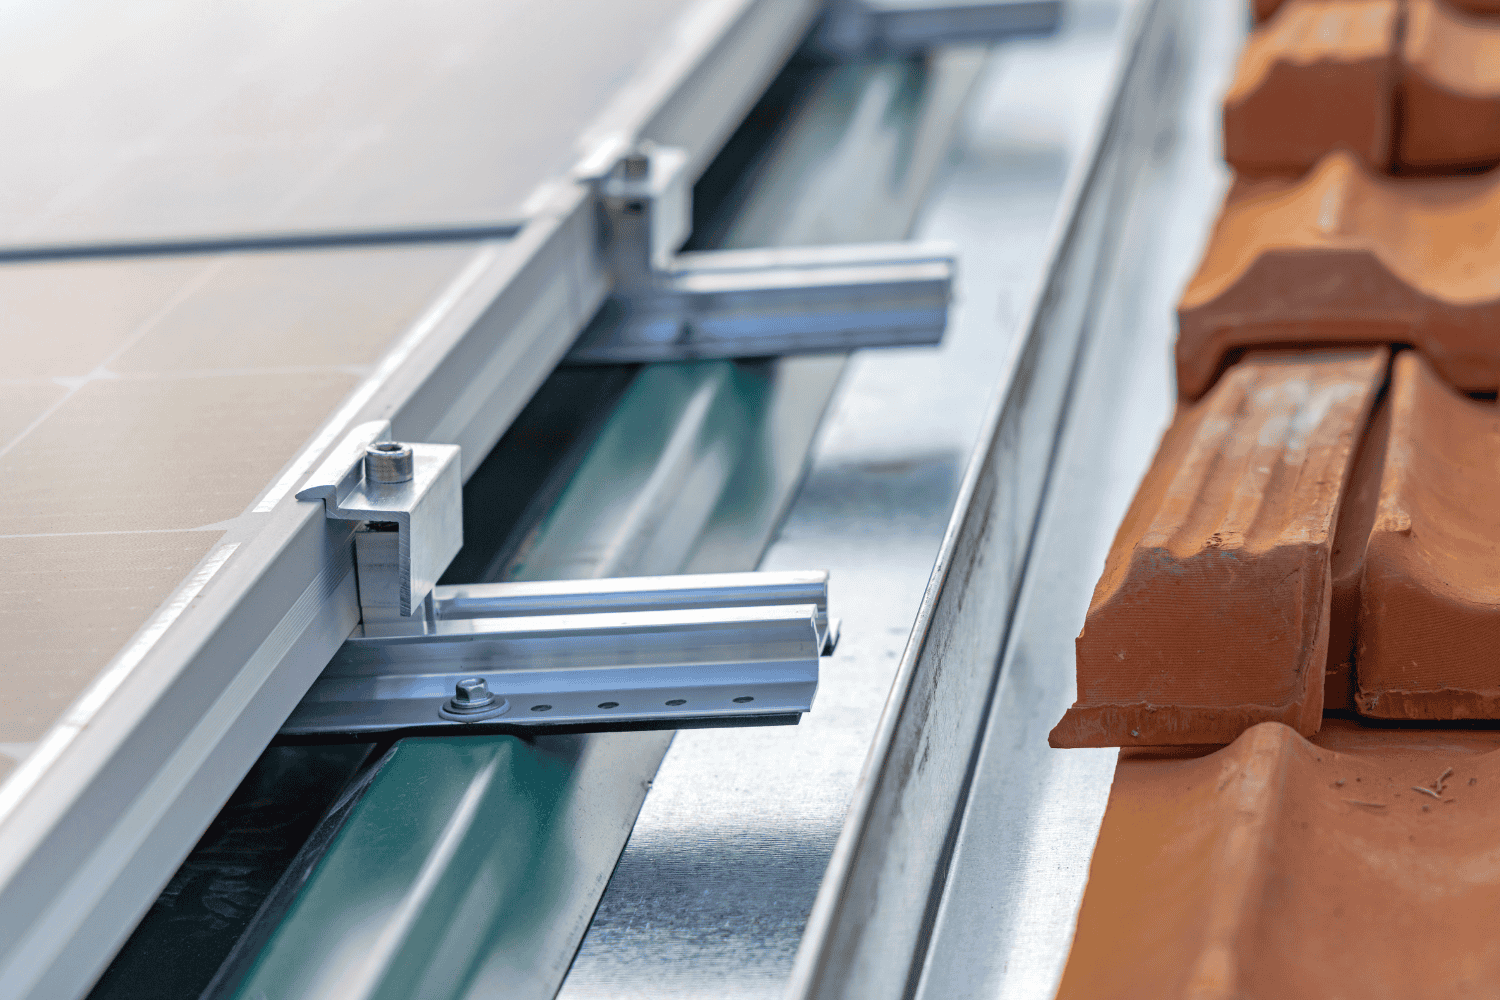
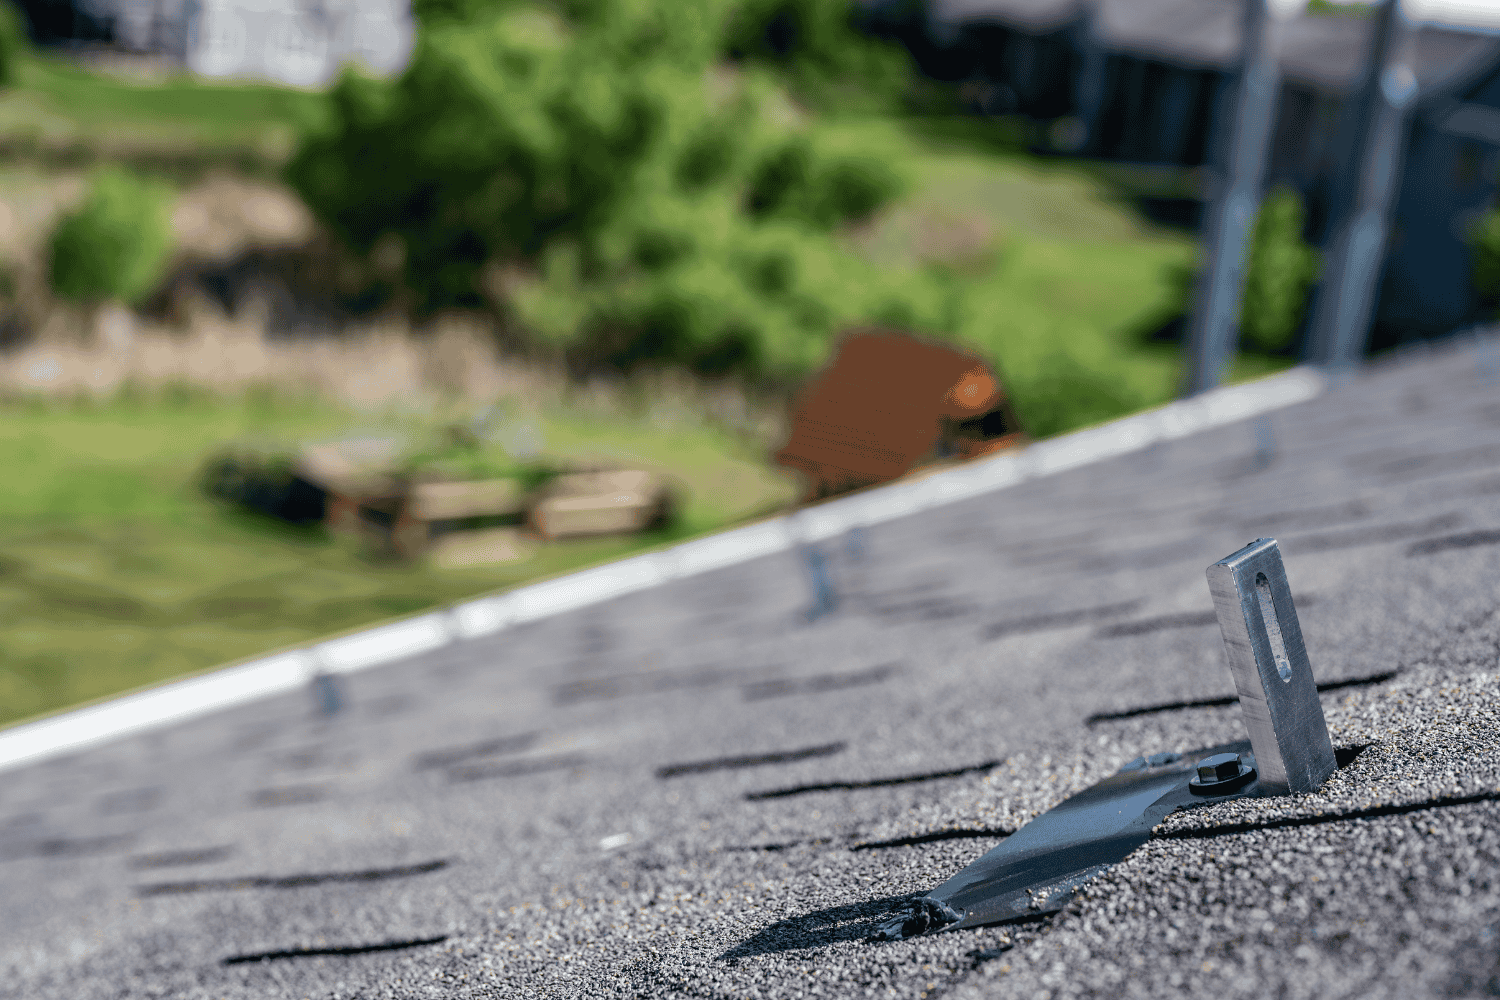
Keeping gutters completely free of debris ensures proper water flow, reducing the risk of clogs and ice dams. Improperly sized gutters may not effectively handle the volume of water, leading to ice buildup. If you haven’t installed gutter guards yet, hiring a reputable company for installation is advisable. Professional installation of gutter guards includes internal hidden hangers that enhance stability against snow and ice weight.
Installing Heating Cables
Heating cables are an effective solution for melting snow and ice buildup in gutters. These cables can be installed in gutters and on roofs to melt snow and ice, facilitating proper drainage. This reduces the risk of ice dam formation and helps keep your gutters clear during winter months. Heating cables can also lower your energy bill by reducing the need for extensive heating to combat ice dams.
Ensuring Proper Ventilation
Proper attic ventilation is crucial for preventing ice dams. Improving ventilation helps maintain cooler roof temperatures, reducing the chances of melting snow refreezing at the gutters. Adequate attic ventilation helps keep the attic space cooler, which can prevent melting snow from refreezing on the roof. Proper ventilation can prevent ice damming and maintain a consistent temperature, reducing the likelihood of ice dam formation.
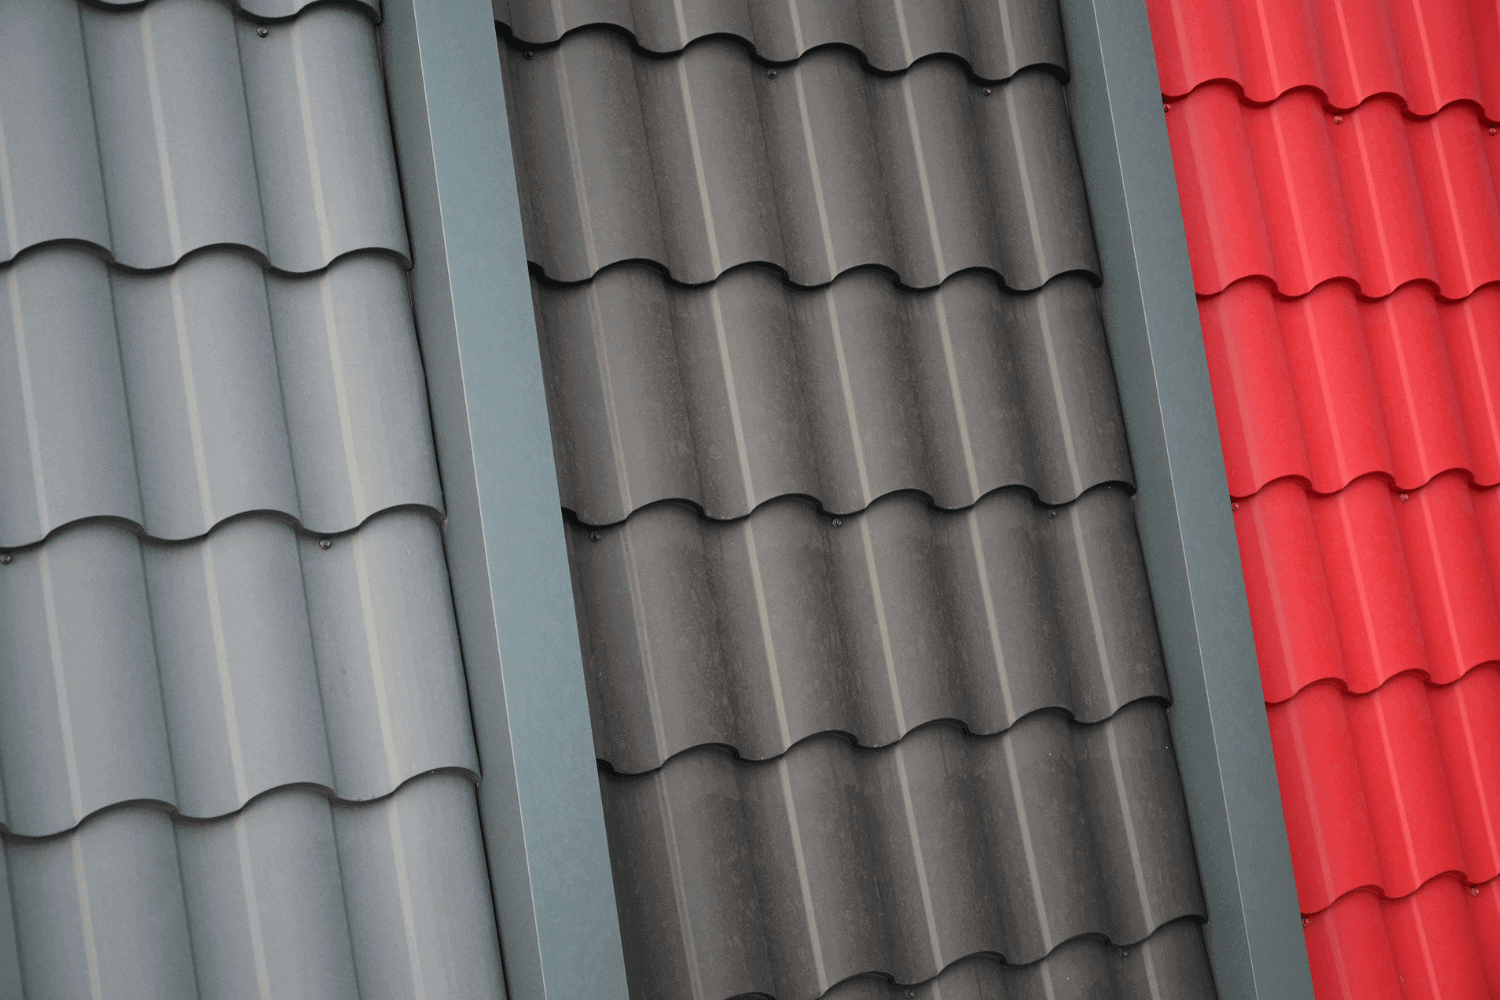
Choosing the Right Gutter Guard System
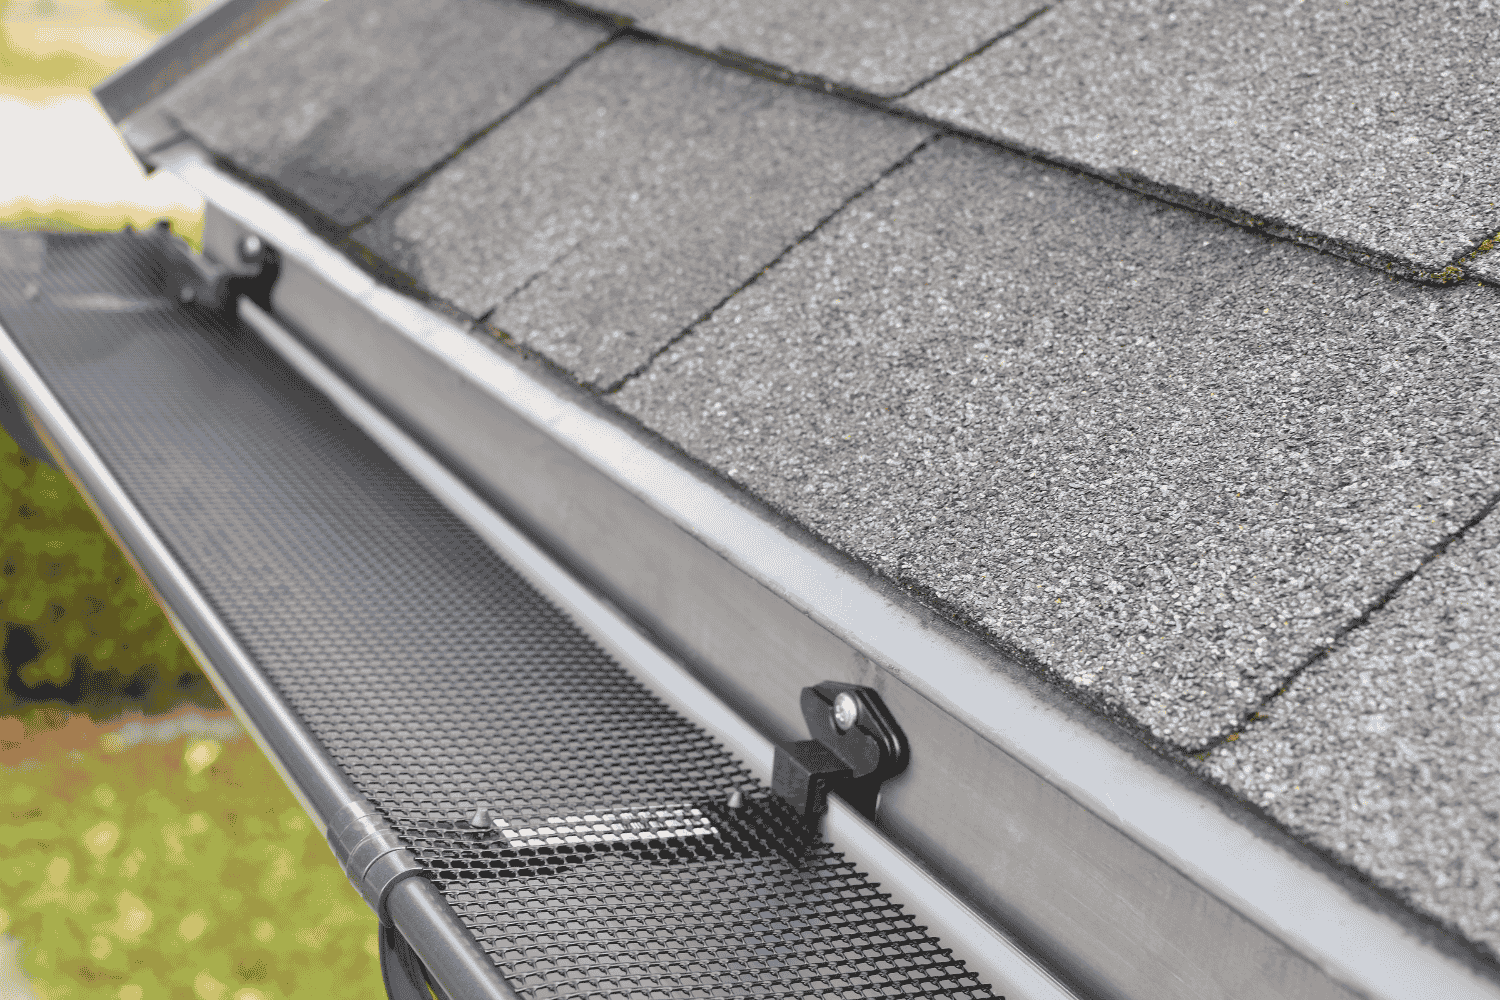
Choosing the right gutter guard system is crucial for minimizing ice dam risks during winter. Micro-mesh screen gutter guards are particularly effective against ice dam-related issues, allowing water to pass through while reducing melted snow accumulation. By preventing debris accumulation and facilitating water movement, these guards significantly reduce the risk of ice dam formation. Evaluating different gutter guard types and understanding the importance of professional installation is crucial.
Evaluating Different Gutter Guard Types
Wide gutters facilitate better drainage of melting snow and ice, reducing the risk of ice buildup. Mesh gutter guards filter debris effectively, ensuring better water flow and minimizing clogs during winter. Reverse curve gutter guards help redirect snow and ice away from gutters, making them effective in snowy climates. Choosing the right gutter guard type ensures proper water flow and minimizes the risk of ice dams in snowy conditions.
Professional Installation
Proper installation by professionals is crucial to ensure gutter guards function effectively and prevent issues like ice dams. Having gutter guards installed by professionals prevents issues caused by improper installation, which could lead to ice dam formation. To avoid complications related to ice dam formation, professional installation of gutter guards is essential.
Summary
In summary, understanding the relationship between gutter guards and ice dams is essential for protecting your home during winter. By recognizing the role of indoor heat, cold weather, and the various types of gutter guards, you can make informed decisions to prevent ice dam formation. Regular gutter maintenance, installing heating cables, and ensuring proper attic ventilation are crucial steps in this process. Choosing the right gutter guard system and ensuring it is professionally installed can significantly reduce the risk of ice dams. By taking these proactive measures, you can keep your home safe and ice-free throughout the winter months.
Frequently Asked Questions
Can gutter guards cause ice dams?
Yes, gutter guards can lead to ice dams if they obstruct water flow, causing it to pool and freeze.
What are the best types of gutter guards for snowy climates?
Micro-mesh gutter guards are your best bet for snowy climates since they help prevent ice dam formation effectively. They’ll keep your gutters clear and functioning smoothly during the winter months.
How does indoor heat contribute to ice dam formation?
Indoor heat causes snow on the roof to melt, and as it refreezes at the eaves, it leads to ice dam formation. Keeping your attic well insulated can help prevent this issue.
What maintenance steps can prevent ice dams?
To prevent ice dams, regularly clean your gutters, install heating cables, and make sure your attic is properly ventilated. Taking these steps can save you from costly damage down the line!
Why is professional installation of gutter guards important?
Professional installation of gutter guards is crucial because it guarantees they work properly and helps avoid problems like ice dams. Properly installed guards protect your home from water damage and save you money in the long run.